First conversation, mission & review
You're on the dashboard. The full loop has three pages: Conversations, Missions, and Reviews. Conversations and Missions are always in the left nav; Reviews joins them later (it appears once your first mission produces work). Walking through them once cements the model.
1. Start a conversation
Click Conversations in the sidebar, then + New Chat.
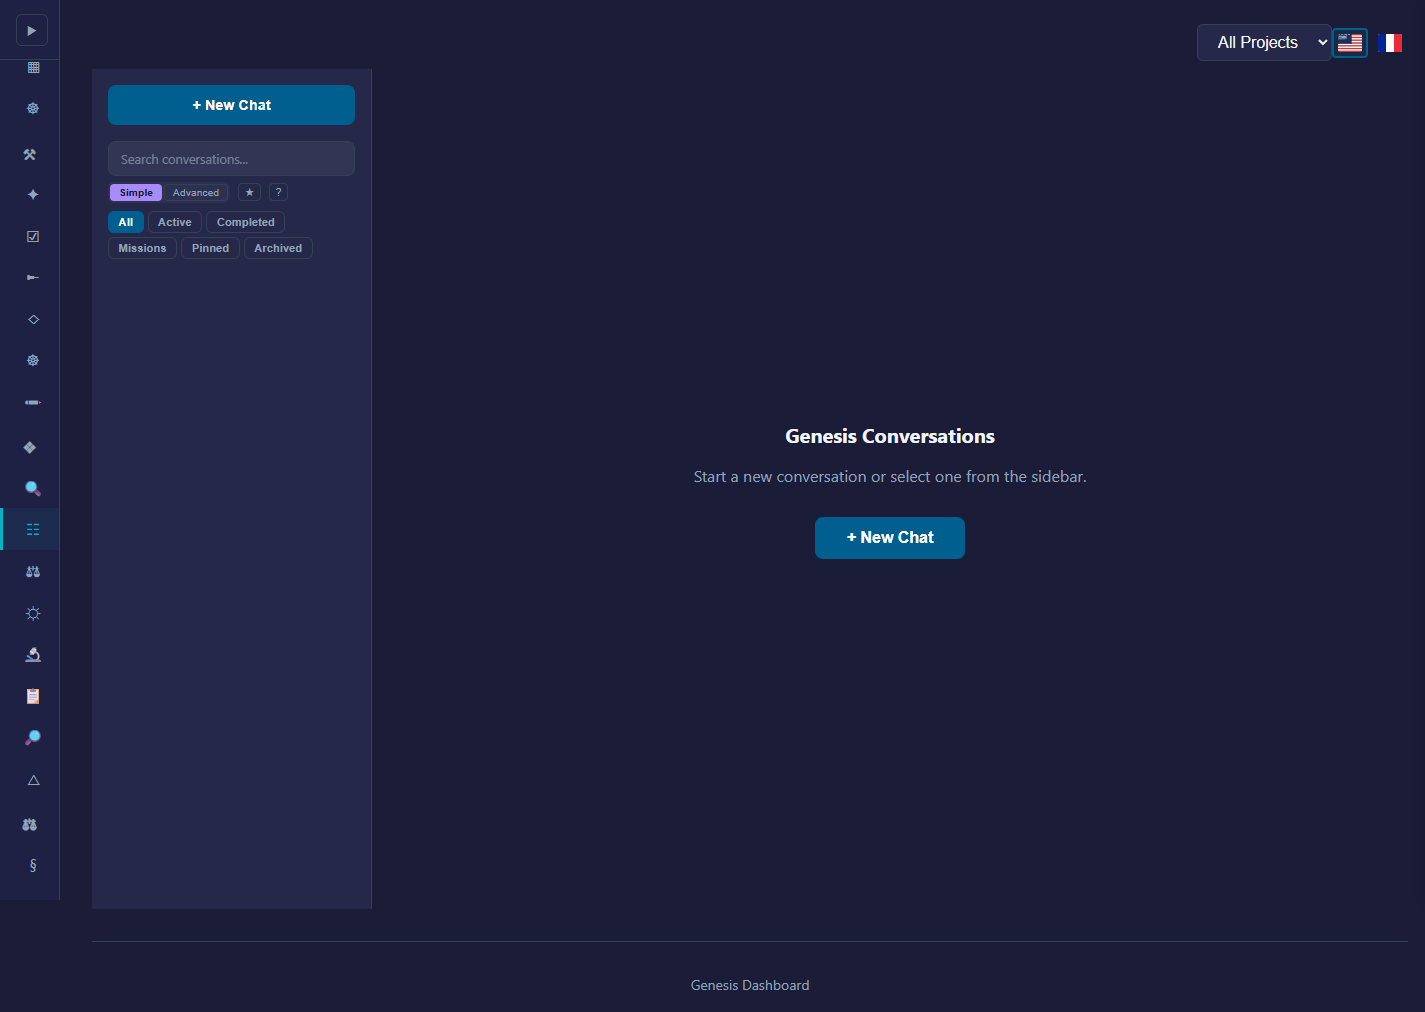
A blank chat opens. Describe what you want, in plain language, the way you'd brief a developer friend. Worked examples:
- "Scaffold a Python FastAPI service with one
/healthzendpoint and a Dockerfile." - "In
my-app/, theLoginFormdoesn't show validation errors. Add a red helper text under each field that fails validation." - "Write a brief design doc for migrating our settings module from JSON to YAML. Don't implement anything yet."
Tips that consistently land good results:
- Mention the file or area when you can. "the cart total widget" beats "the totals thing".
- Say what you don't want. "Don't touch the database schema" closes off a tempting wrong turn.
- One outcome per conversation, ideally. If you want two things, two conversations is cleaner.
ARDS responds in the chat. You're talking to a planning model, not a coder — it asks questions, clarifies scope, and proposes how it'd break the work down. Answer the questions; when it has enough, it proposes a mission.
2. Promote to a mission
When ARDS has a concrete-enough picture, it files a mission proposal itself — there's no create-mission button in the chat, and saying "yes" doesn't start anything on its own. Nothing runs yet: the proposal waits for your approval.
The proposal arrives as a pending item in the Decisions queue in the sidebar. Open Decisions, read it, and approve it — the mission then shows up on the Missions page (you're not navigated there automatically). Prefer to skip the conversation entirely? The Missions page also has a manual Create Mission form.
3. Approve the plan
If your mission was created with a workflow attached, there is no plan-approval step: the graph is the plan, and you decide at the workflow's gates instead — see Runs, acceptance & changements.
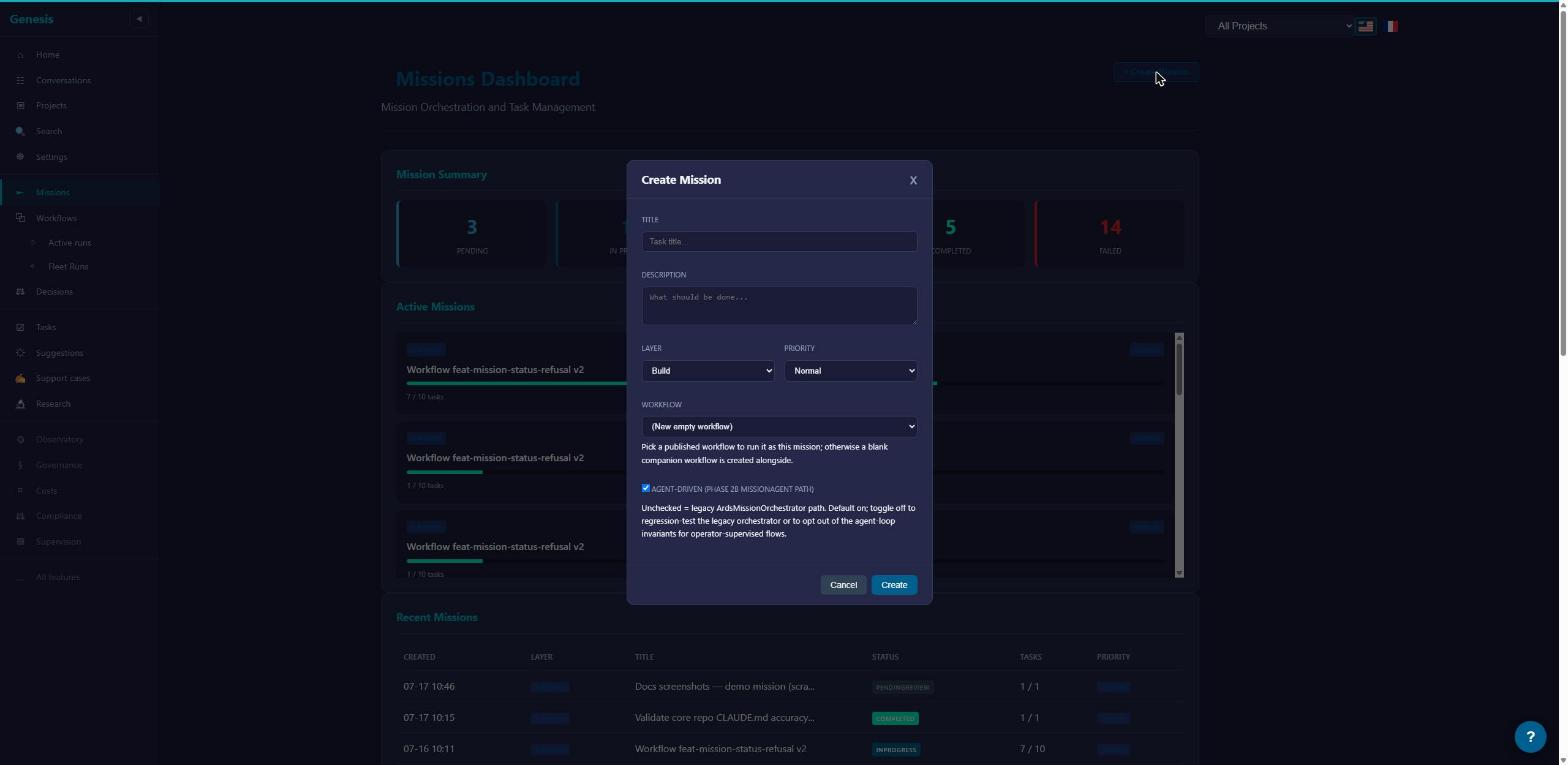
Otherwise the mission moves through its planning states (Planning, then Decomposing while the planning model breaks the work into individual tasks — usually 10–30 seconds) and stops at Decomposed. On the mission page you'll see:
- The plan: a list of tasks the mission proposes to run, in order. Each has a one-line summary.
- A banner — "Decomposition plan ready" — with one button: Approve Decomposition Plan (the Missions list offers the same action).
The plan is approved as a whole — there is no per-task selection. If you don't want it, don't approve it: nothing dispatches while the mission sits at Decomposed, and Cancel Mission on the mission page abandons it.
Until you approve, no coder runs on this plan. (Missions that run a workflow pause at the workflow's own gates instead — and either way, nothing lands on your repo without your say-so.) This is the first human gate.
4. Watch the coders work
Approved tasks transition to Pending, then InProgress as a coder picks them up. Each task shows live progress: which step it's on, which files it's touching, what model it's using. You don't need to babysit — you can leave the page and come back. ARDS sends an email when a task needs your attention or when the mission finishes.
One extra task will appear that you never planned: the platform's verification step. On a mission that produces code, once every planned task is finished ARDS appends a system task named "Verify the built application: …". It needs no approval — it dispatches on its own. Its coder checks out the integrated branch read-only, builds and starts the application, exercises the mission's main flow, and reports a verdict as the first line of its result — VERDICT: VERIFIED or VERDICT: FAILED with a reason — changing and committing nothing. The mission only completes once this task finishes, and the verdict is shown with the mission's completion review. Treat anything other than VERDICT: VERIFIED as not verified, and read the task's result for the evidence.
If a task needs you (an answer, a clarification, an approval), that need surfaces as a pending item on the Decisions page in the sidebar — that's not a failure, it's your turn. See Lifecycle states for how the states fit together.
5. Review the result
When a coder finishes, its work lands on the review mirror — a separate copy of your repo. The Reviews page lists pending changes (the sidebar entry appears once your first mission produces work).
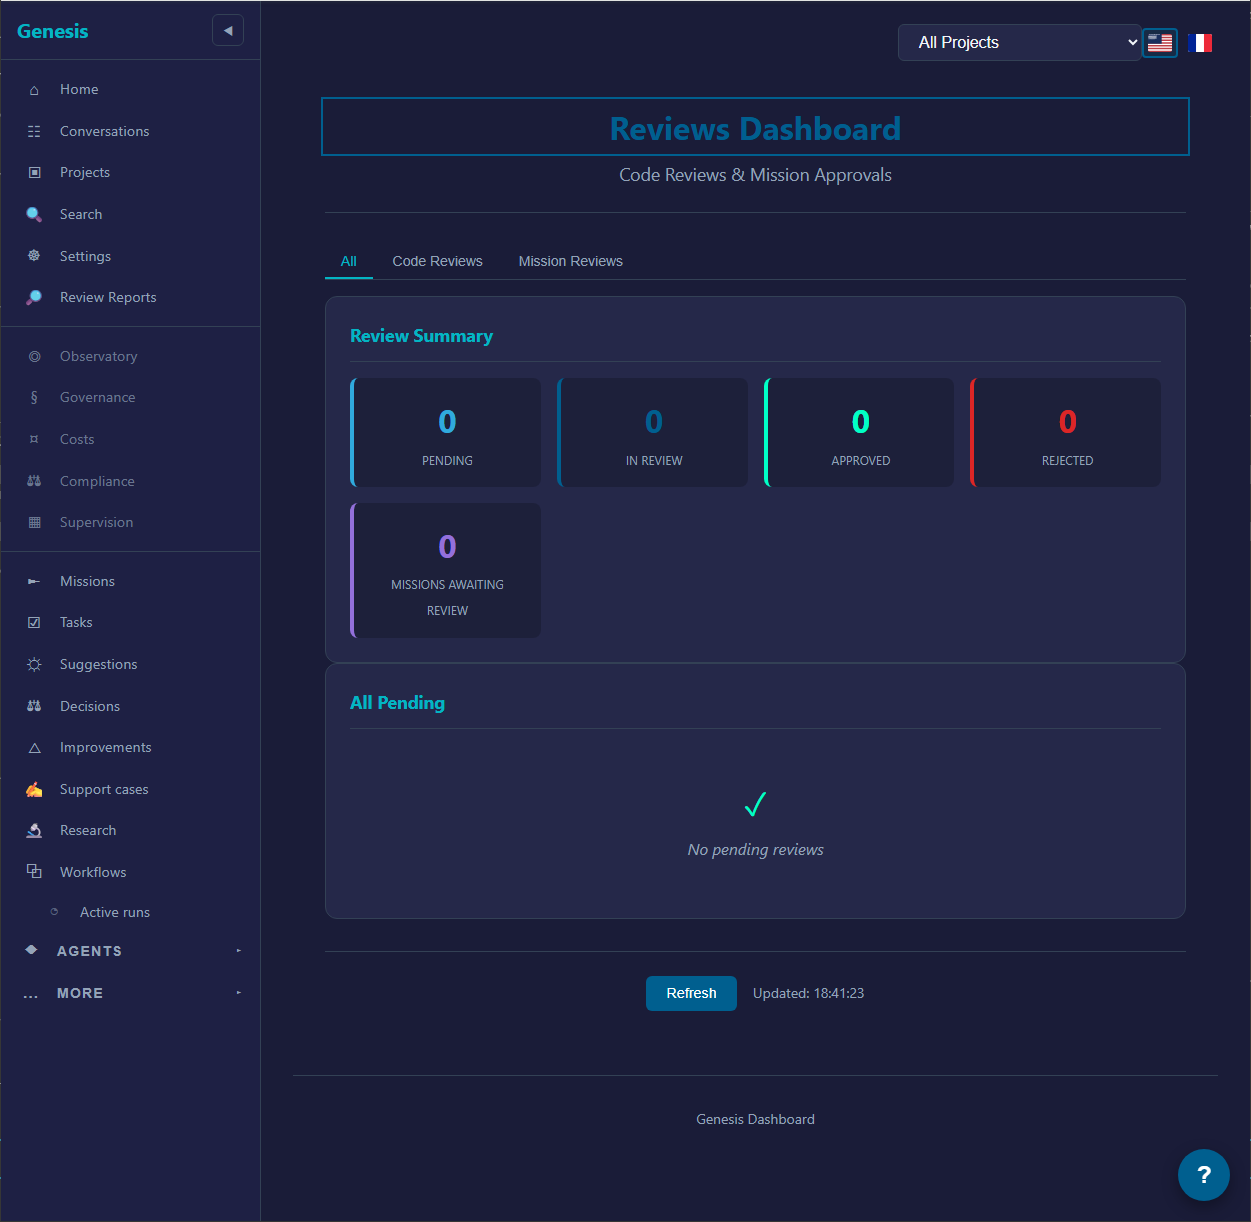
Click into a pending review. You see:
- The diff, file by file.
- A one-paragraph summary of what the coder did and why.
- A comment box and two buttons: Approve / Reject.
Approve pushes the change through to your origin repo. Reject (it asks you to confirm, and takes an optional comment) declines the work — nothing reaches your origin. There is no request-changes verb on a review: if you want another iteration, brief it in a conversation — that's the same loop you just walked.
If your mission ran a workflow: the work arrives as a run you accept — or leave unaccepted — not as a review here; see Runs, acceptance & changements.
That's the loop. Most of what's behind the dashboard (settings, fleet management, observability, LLM config) you can ignore for your first session — come back to it when you want.