Your first session
This is the happy path — what your first 15–30 minutes look like.
1. The welcome email
You'll receive an email from update@etiakorp.com with a link inside. A few honest notes:
- It may land in spam, especially on Outlook, Live, and Gmail. Check your spam folder first. Mark the sender as legitimate so future system emails reach your inbox.
- If you receive several invite emails (this can happen when provisioning retries during setup), use the most recent one. Older links may still work, but the latest is the canonical one.
- The link points to our identity provider, not to a Genesis page directly.
2. Activate your account
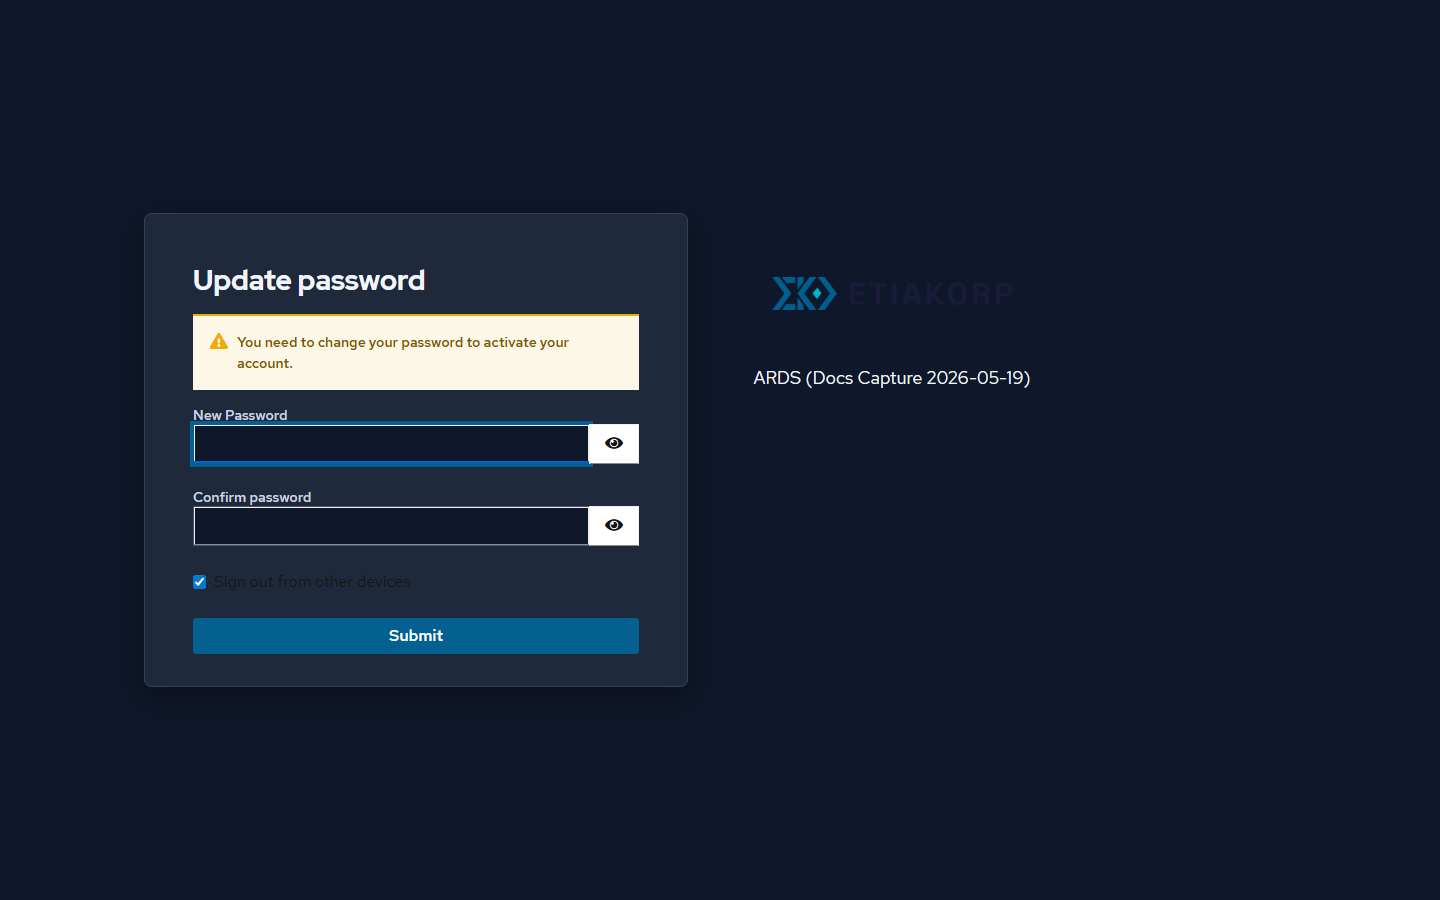
The link walks through two steps, both handled by the identity provider:
- Set your password. Pick anything reasonable — you'll only need it once.
- Verify your email. One click confirms it's really you.
After both, you're redirected to your tenant's URL: https://<your-slug>.ards.etiakorp.com/. The exact slug is in your email — bookmark the page.
3. Sign in
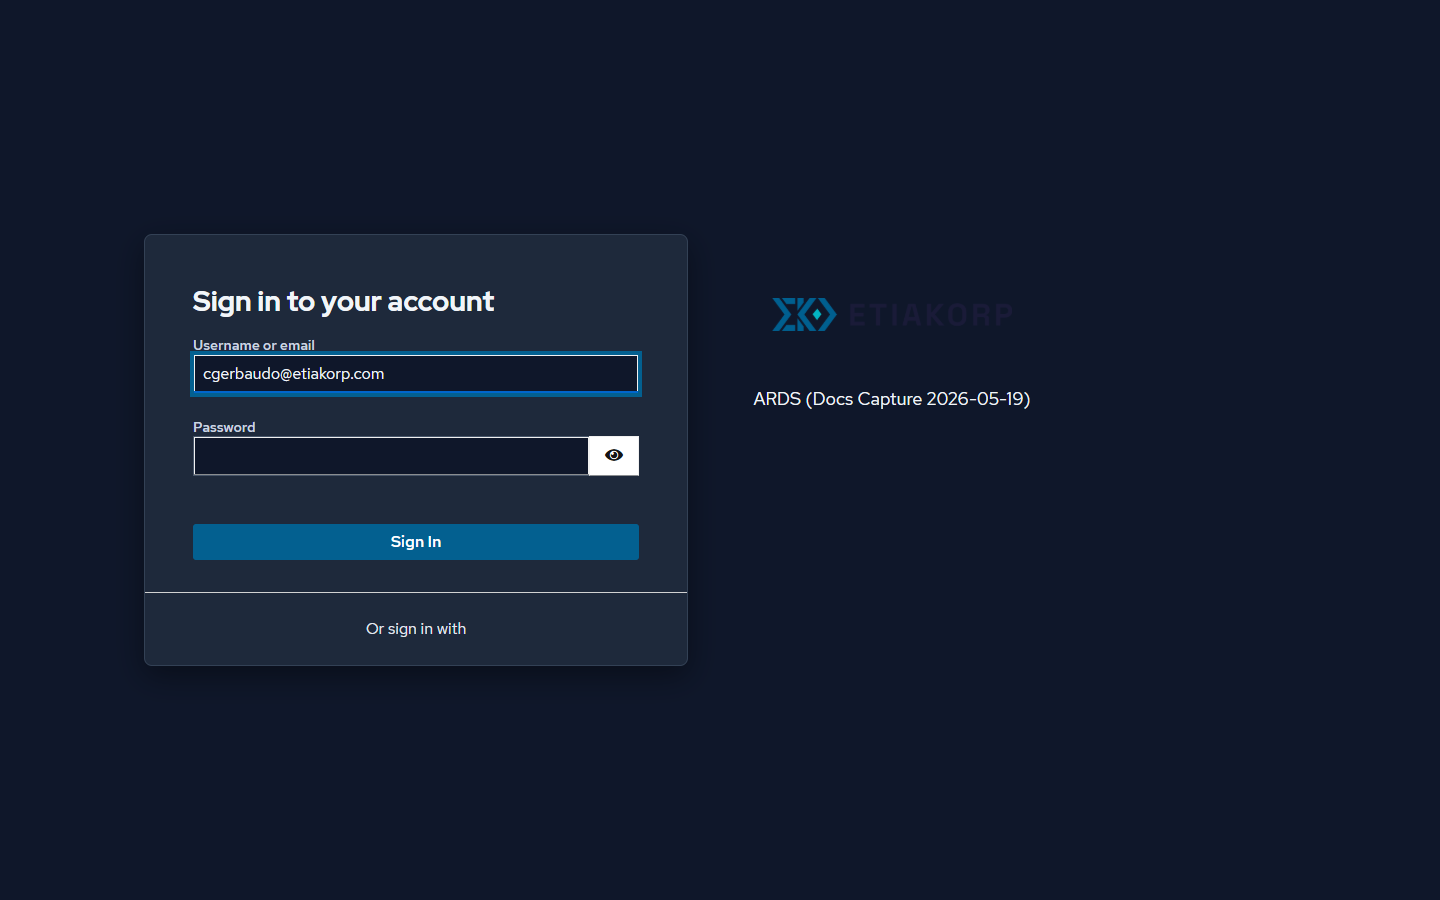
You land on the sign-in screen (still the identity provider — Genesis itself is one step further). Your email is pre-filled. Enter the password you just set. You'll only do this sign-in once for the session.
If the URL doesn't load on the first try, wait 1–2 minutes and refresh. New tenant subdomains need a moment for DNS and the TLS certificate to propagate. If it still doesn't work after 5 minutes, see Troubleshooting.
4. Connect a model provider
There's no separate setup wizard — first-run setup happens on the regular pages, in two short steps: connect a provider, then register a project.
The provider comes first, because everything downstream runs on it:
- Open LLM Config. It's listed on the All features index at the bottom of the sidebar — and until a provider is connected, the Conversations page shows an Open LLM Config shortcut too.
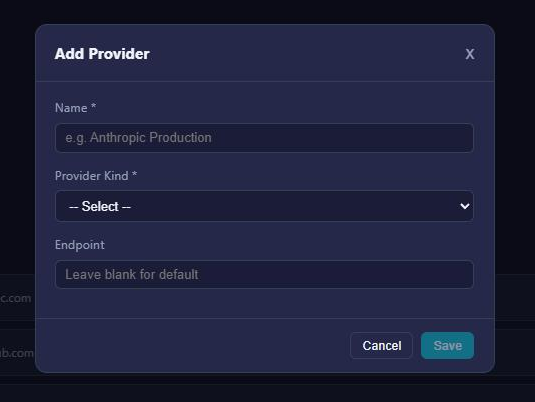
- On the Providers tab, click Add Provider: give it a name, pick the provider kind — Anthropic (the recommended default), OpenAI / Synthetic, Ollama or JetBrains — and leave the endpoint blank to use the provider's default.
- On the provider you just created, click Add Credential and paste your API Key.
5. Register your first project
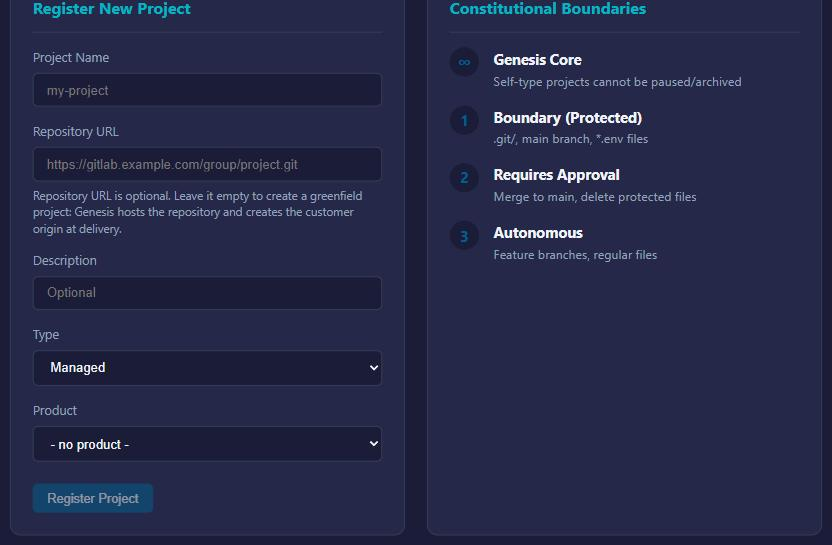
Now the project. Click Projects in the sidebar and fill in the Register New Project form:
- Project Name — anything readable.
- Repository URL — optional, HTTPS or SSH.
- Paste a URL to have ARDS work on an existing repo. For a private HTTPS repo, there's a Personal Access Token field (read scope; stored encrypted, used only to clone into the mirror). For an SSH URL, the form generates a deploy key for you to add at your Git host.
- Or leave it empty. The form spells out what that means: "Repository URL is optional. Leave it empty to create a greenfield project: Genesis hosts the repository and creates the customer origin at delivery." That's the easiest first run — no repo to prep, no URL to hunt down.
Click Register Project. That's the whole job: the project is cloned, indexed, and onboarded automatically — ARDS builds its picture of the project from what's actually in the repository. There is no separate onboarding flow to babysit.
While that runs, make it the active project: open the project selector in the top bar — the dropdown that reads All Projects until you pick one — and choose your project. That scopes the app to this project and adds two per-project links under Projects in the sidebar: Project Intel and Onboarding.
6. The dashboard
Head to Home — the dashboard is your home page.
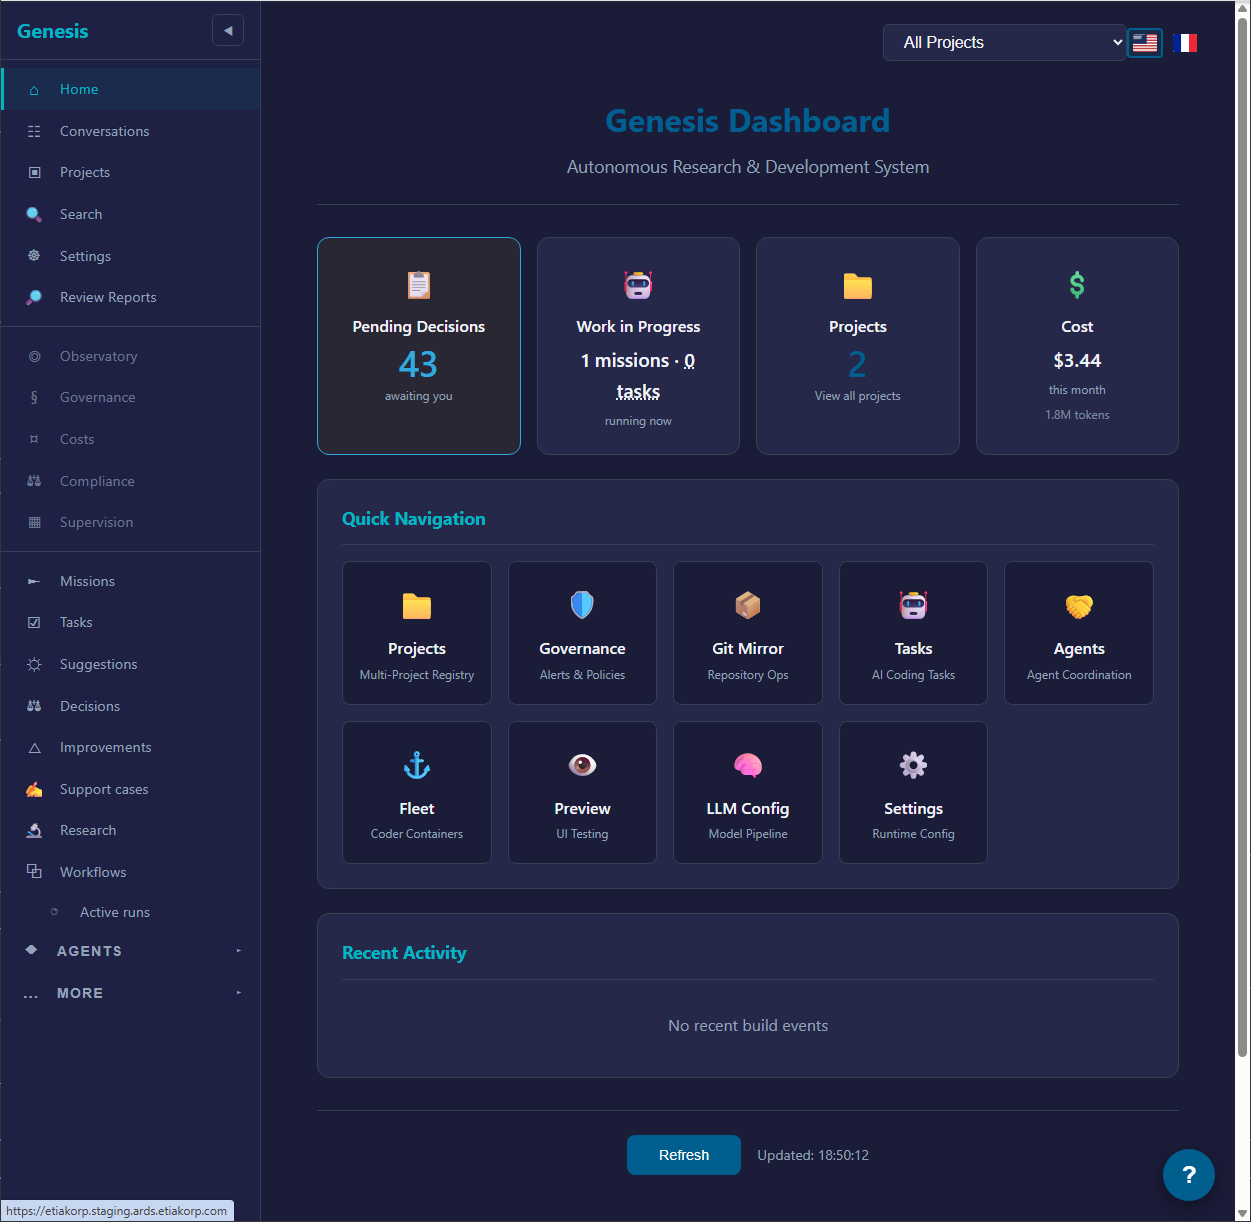
One thing worth knowing early: the sidebar starts small on purpose. A few entries — Tasks, Reviews, Suggestions, Support cases, Research — only appear once your tenant produces its first artifact of that kind (your first task, your first review…), and once revealed they stay. Until then, every page is still reachable from the All features index at the bottom of the sidebar.
From here, two places matter next:
- Decisions — the approvals queue. Once onboarding completes, the project's steward proposes a first mission here, and every approval after that arrives in the same queue.
- Conversations — where you brief ARDS yourself. That's the next page: First conversation, mission & review.
A note about the mobile app
A mobile app exists in development. It's not deployed for testers yet. Stick to the web app in a desktop browser for v1.